
Last updated September 10, 2026
Full 25-point door and opener safety check with every visit - springs, cables, rollers, tracks, and your LiftMaster or Chamberlain opener included
You get a price before we start. It does not change when the truck arrives.
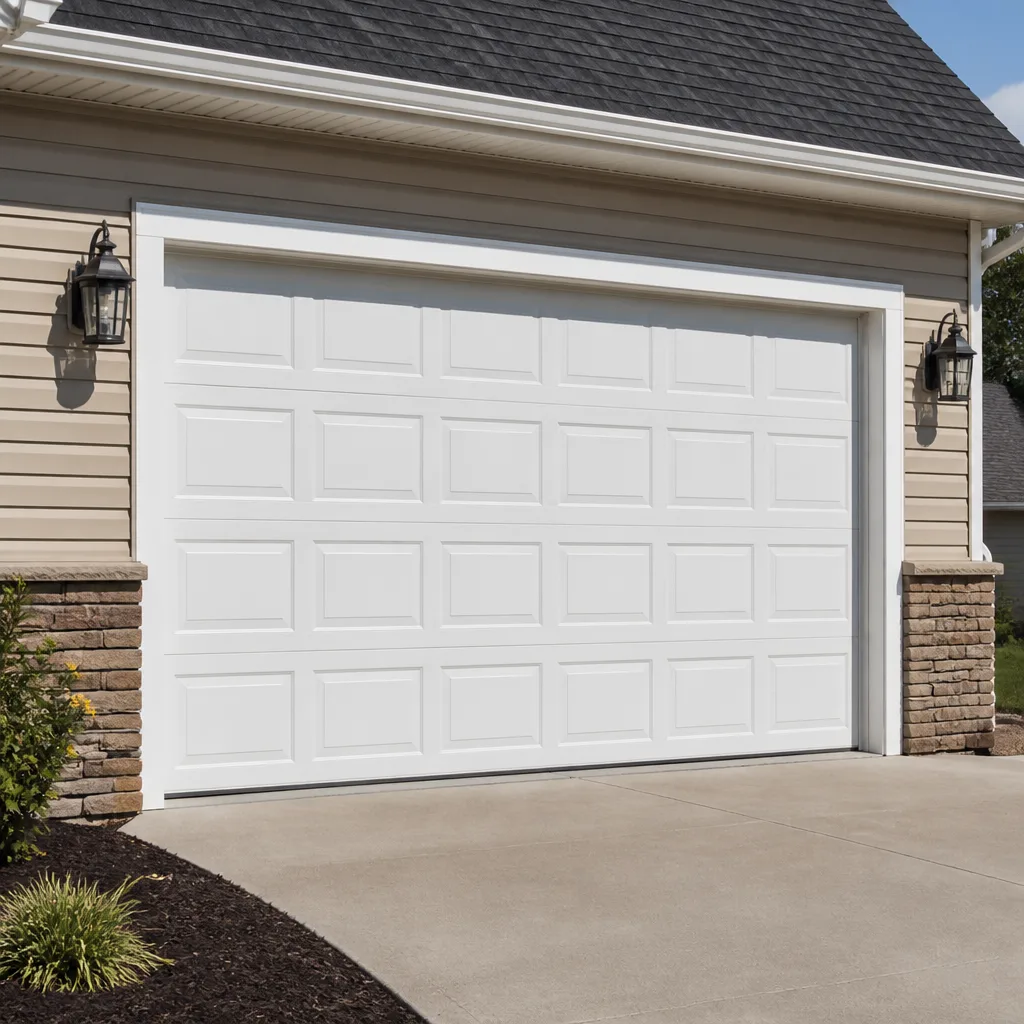

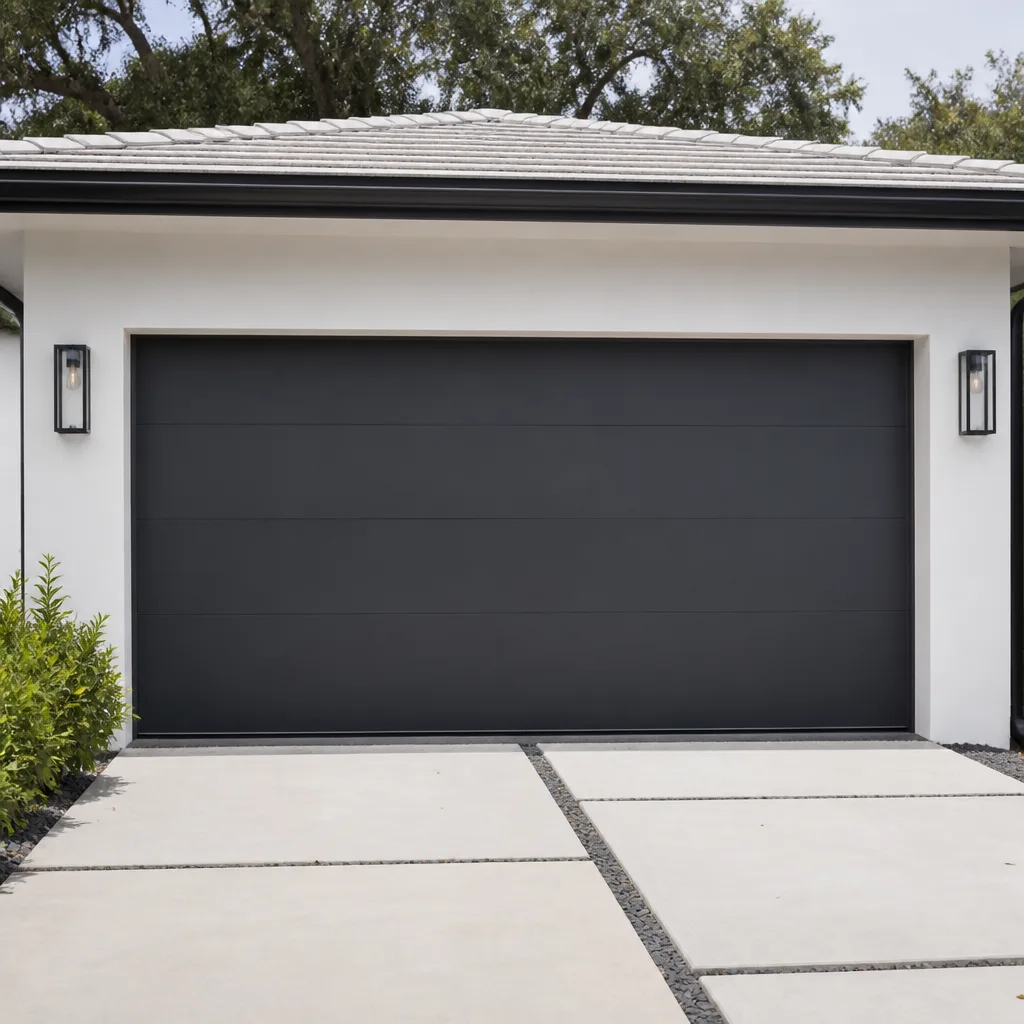
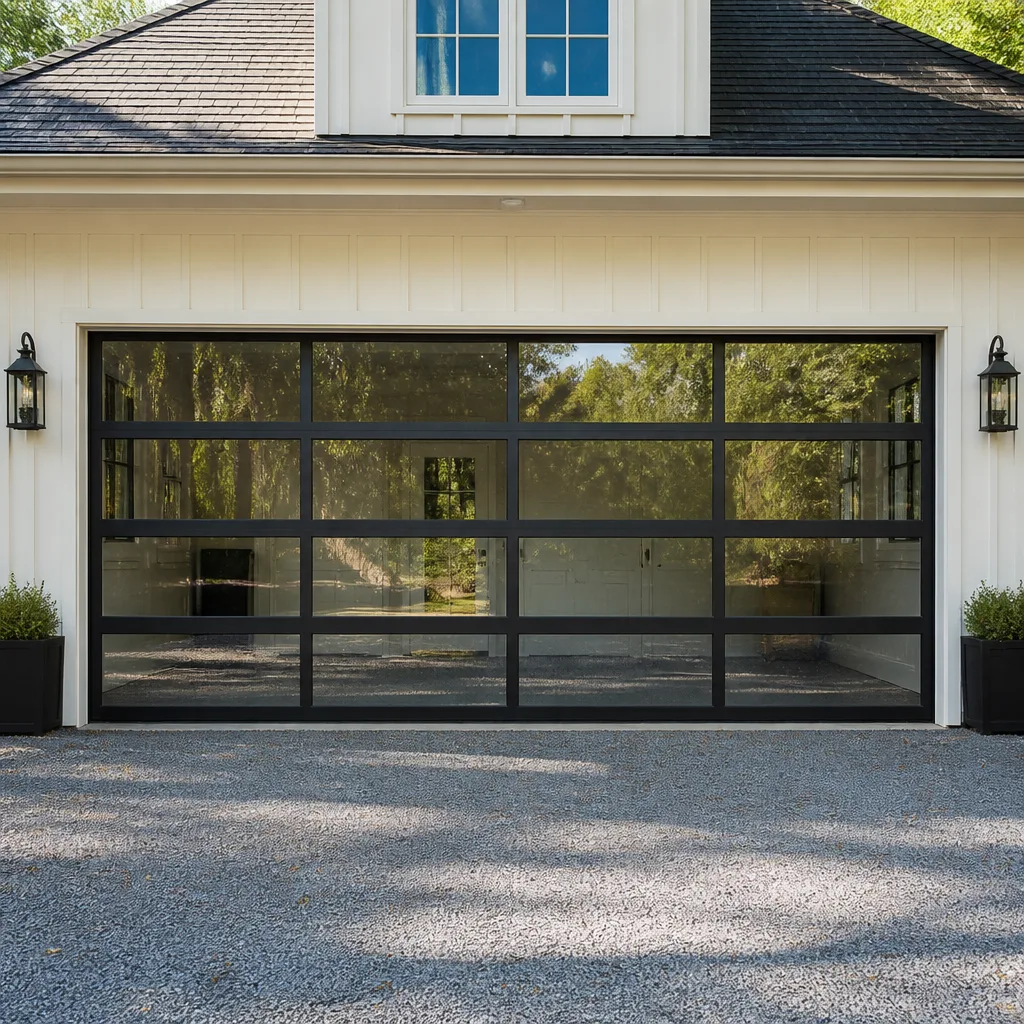
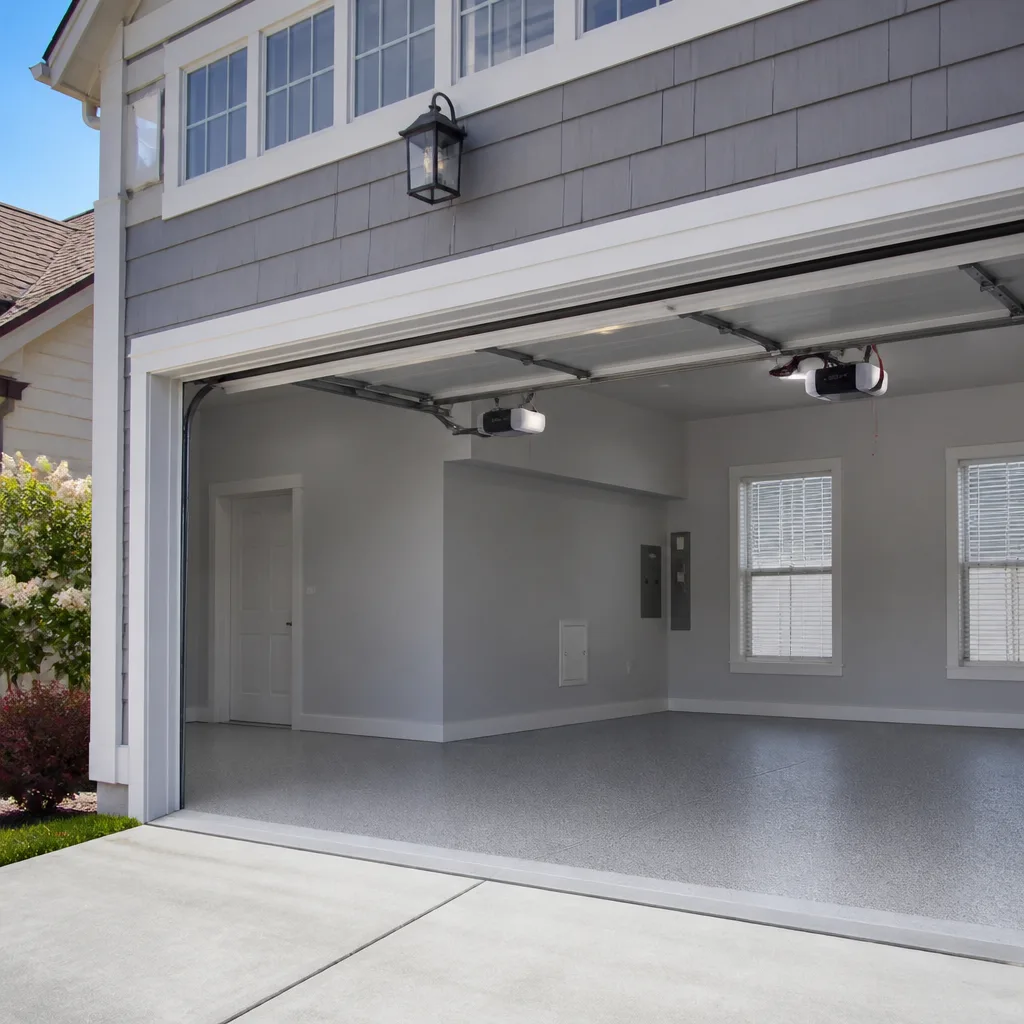
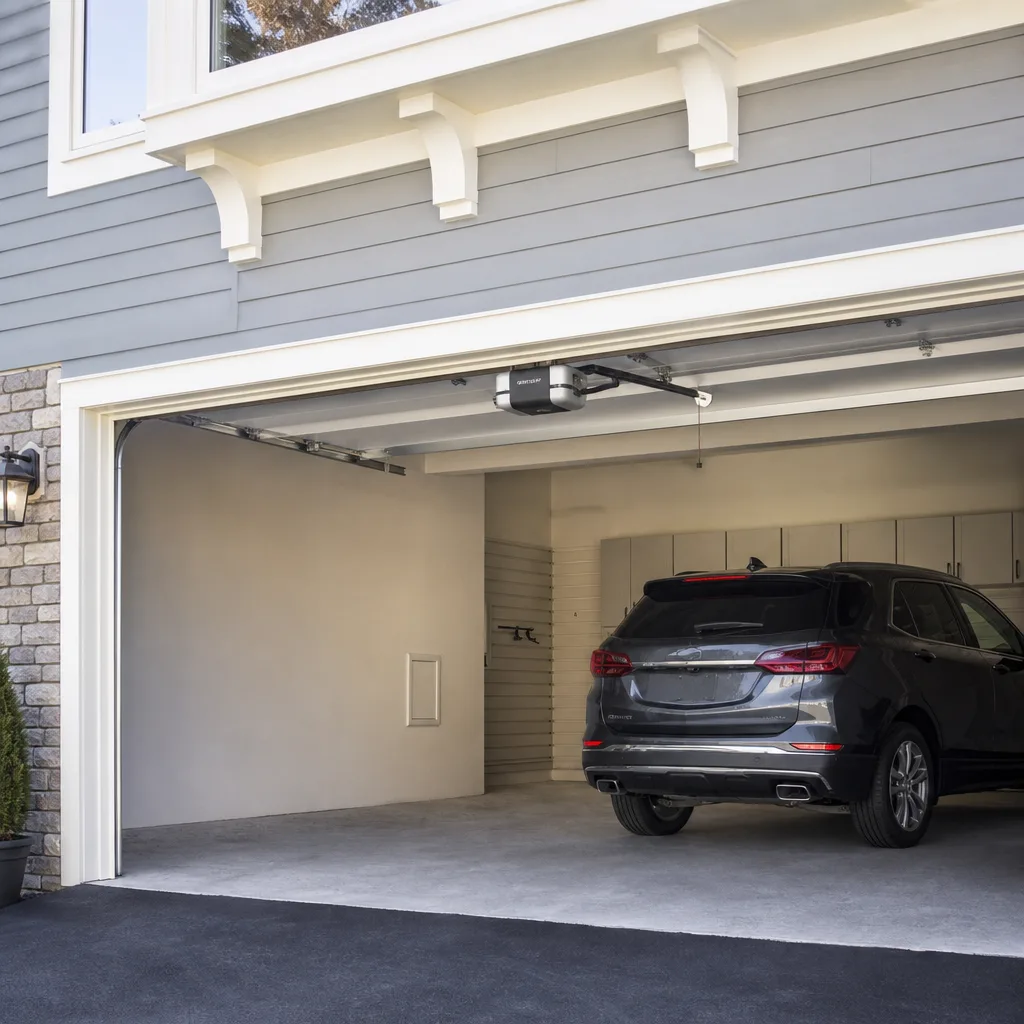
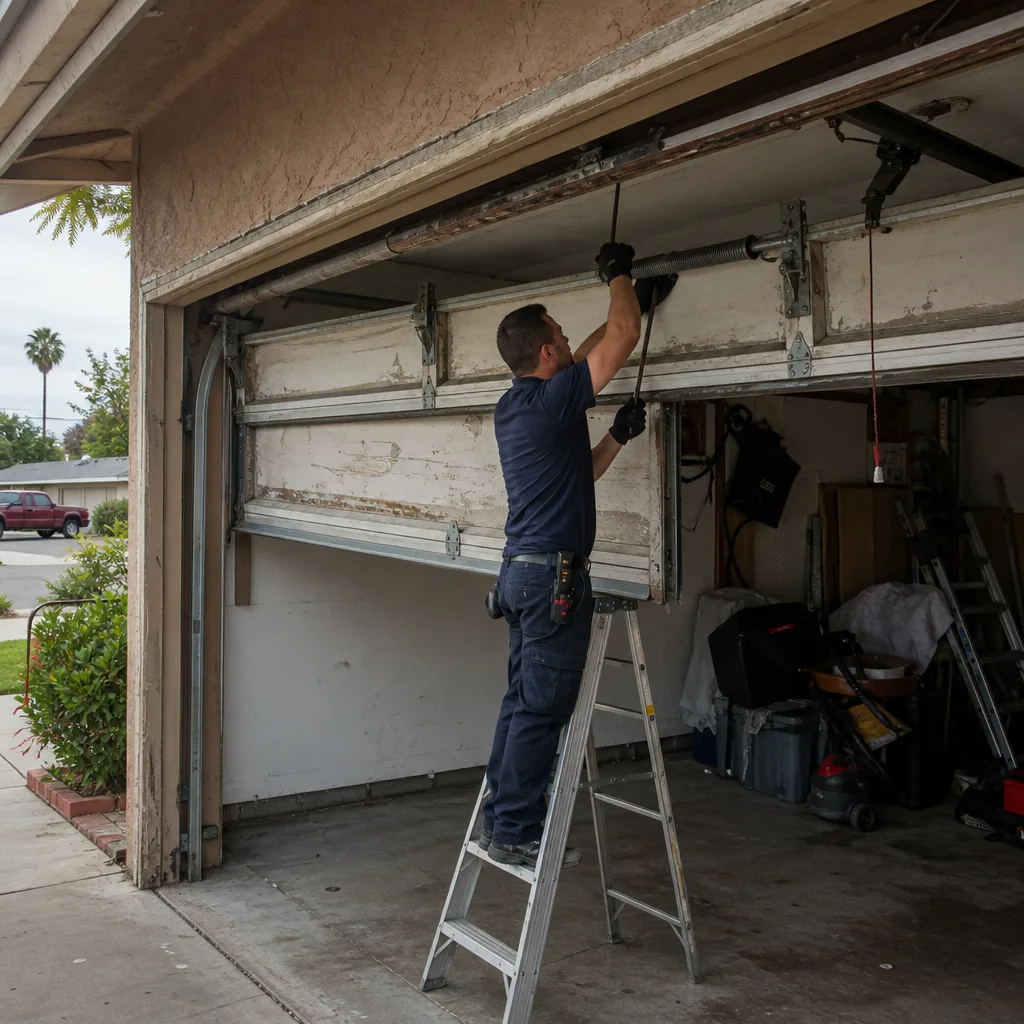 Before
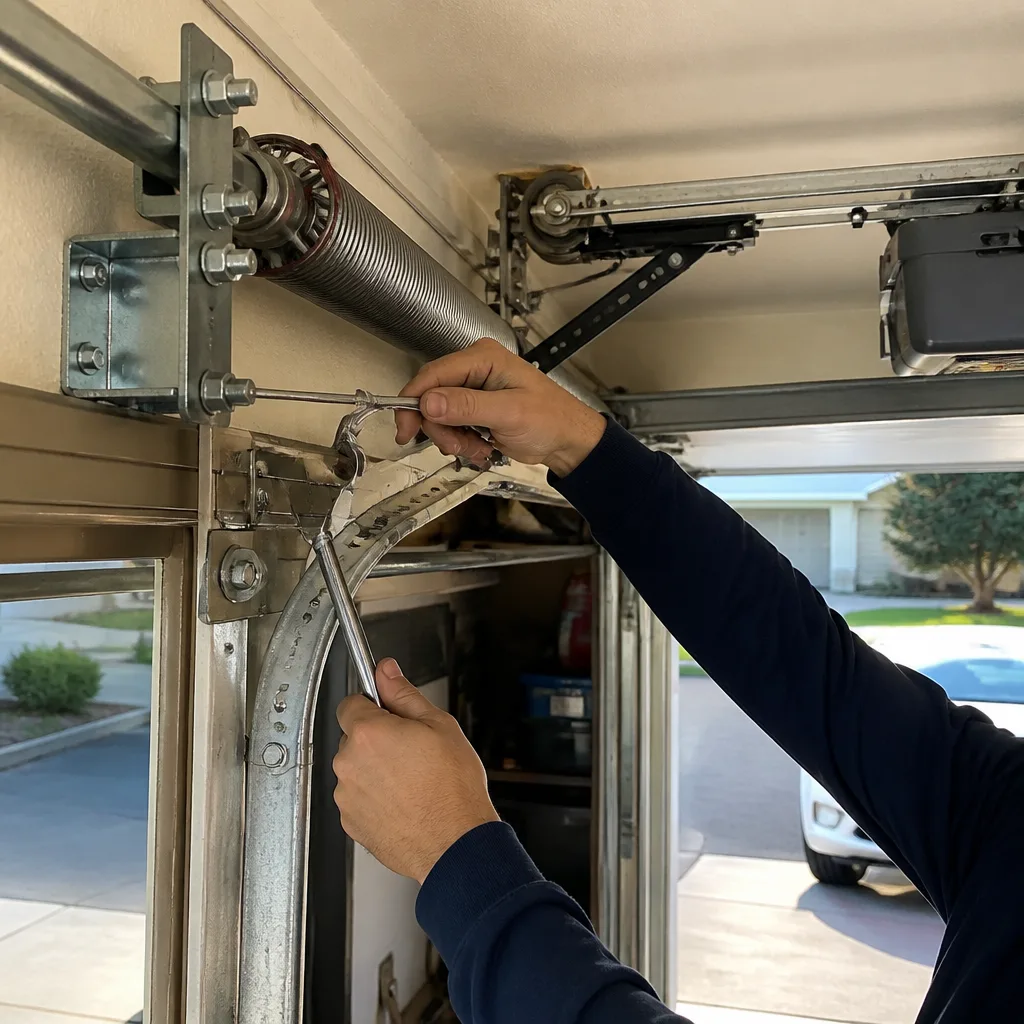 After
After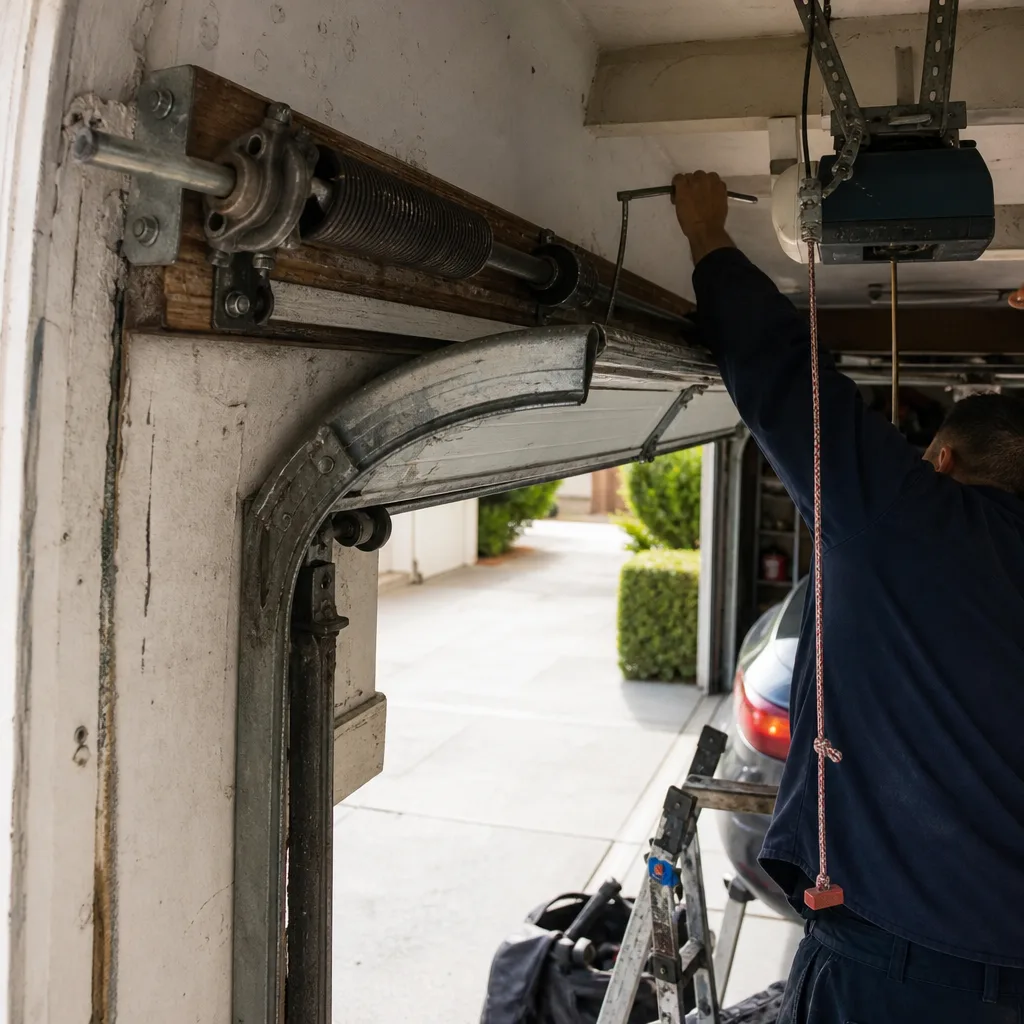 Before
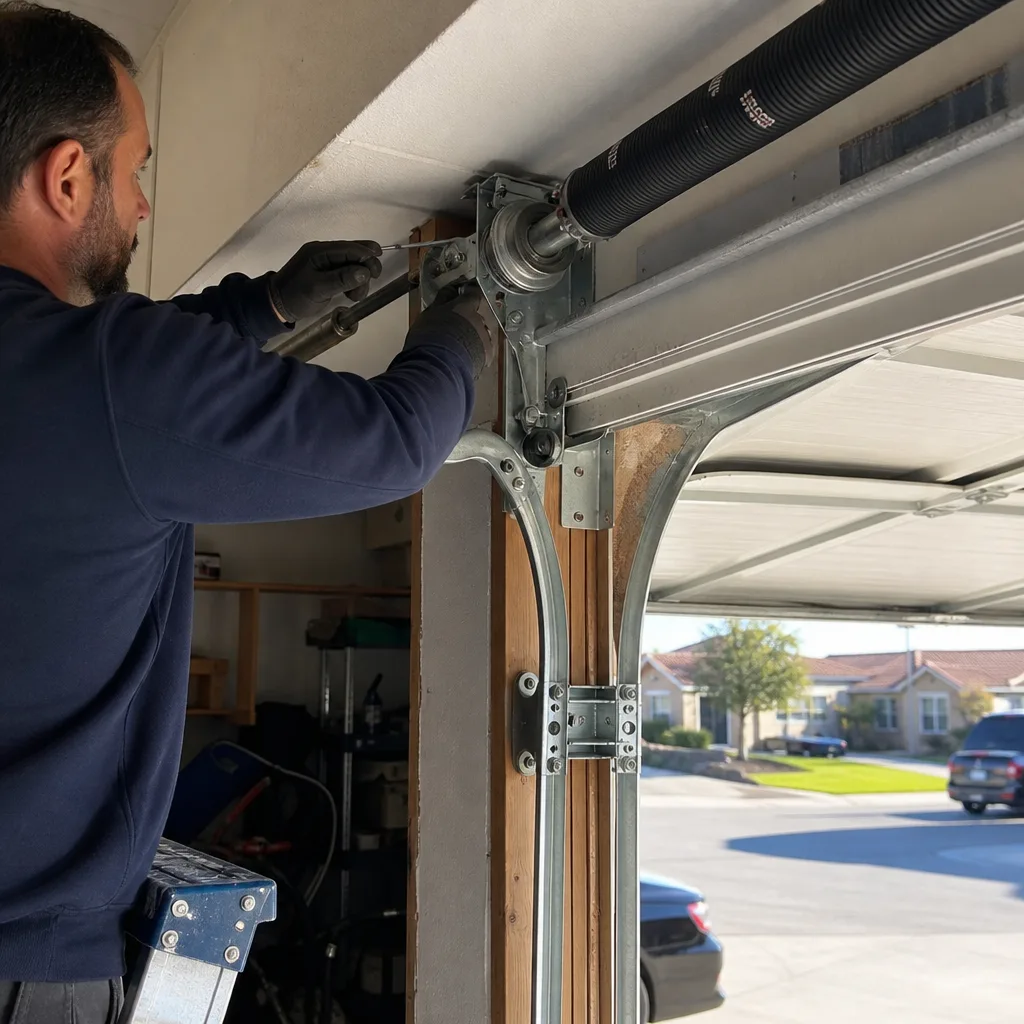 After
After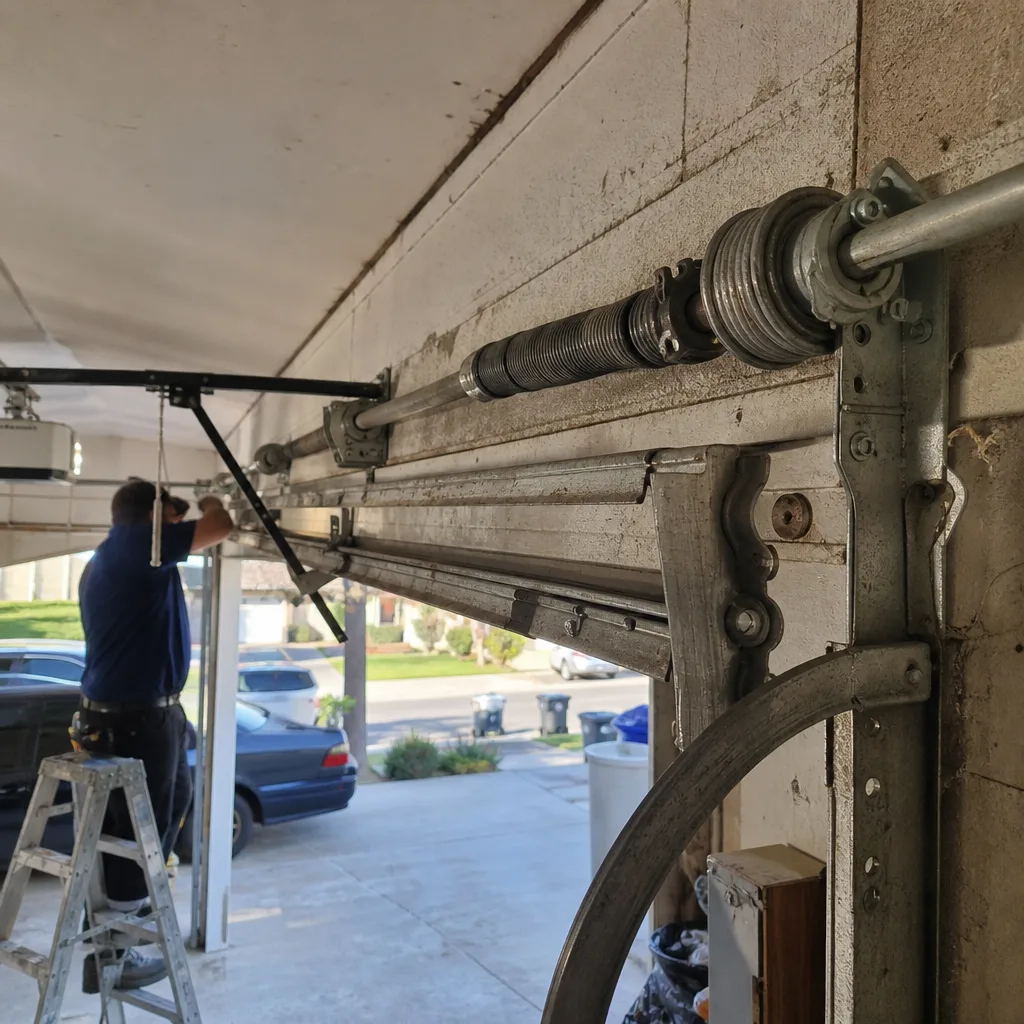 Before
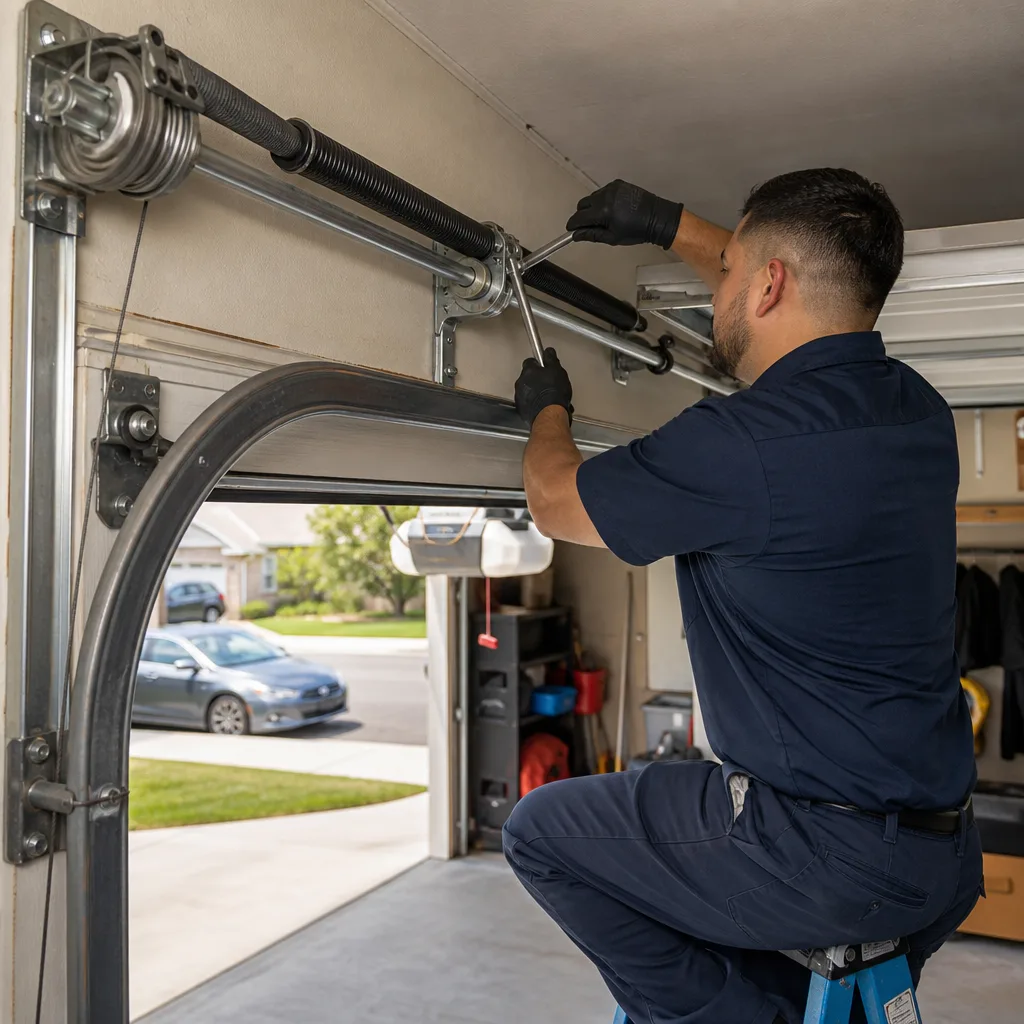 After
AfterGarage Door Repair Maintenance Checklist for Chula Vista Homeowners
A torsion spring in a dry inland climate can last 15,000 cycles. The same spring one mile from the Chula Vista waterfront, left unlubricated, can fail in under 7,000. The maintenance steps are different. The schedule is different. Most checklists don’t know that.
In this more guides & resources, we’ll walk you through a year-round maintenance system built specifically for Chula Vista’s coastal-marine environment - where salt air, intense UV, and concrete slab movement create failure patterns that generic advice misses entirely. You’ll get a month-by-month calendar, the right lubricants for salt-air corrosion, and inspection methods we’ve refined over 42 years of working on doors from Otay Ranch to the Third Avenue Village.
Quick Answer
Chula Vista homeowners should inspect garage door springs, rollers, and weatherstripping monthly, lubricate all moving parts with a marine-grade silicone or lithium-based grease every three months, and schedule a professional Garage Door Repair tune-up before summer UV peaks and winter humidity rises. The coastal climate within five miles of the bay accelerates corrosion and rubber degradation, so the maintenance schedule runs tighter here than inland San Diego County.
Table of Contents
- Why Chula Vista’s Climate Damages Garage Doors Faster
- Month-by-Month Maintenance Calendar
- Spring Inspection and Marine Corrosion Prevention
- Weatherstripping and Seal Maintenance in High UV
- Threshold Inspection for Concrete Slab Heave
- Lubrication Points, Order, and Product Selection
- Safety Checks Every Homeowner Can Perform
- Common Mistakes to Avoid
- When to Call a Professional
- Frequently Asked Questions
- The Bottom Line
Why Chula Vista’s Climate Damages Garage Doors Faster
Chula Vista sits in a unique microclimate zone. The western neighborhoods - from the bayfront up through Castle Park and Hilltop - receive persistent marine layer moisture that carries dissolved salt. Eastern neighborhoods like Eastlake and Rolling Hills Ranch see less fog but higher summer temperatures and more dramatic thermal cycling. Both patterns stress garage door systems differently than the dry heat of El Cajon or the consistent cool of coastal La Jolla.
Three local failure patterns dominate our repair calls:
- Marine corrosion on springs and cables. Salt-laden moisture condenses on cold metal surfaces during morning fog events, then evaporates by midday, leaving crystalline salt deposits that accelerate oxidation. Torsion springs in west Chula Vista show visible rust pitting years before their inland counterparts.
- UV degradation of weatherstripping. Chula Vista averages 260 sunny days annually with higher UV intensity than many coastal cities due to its southern latitude and reflective surfaces. Bottom seals and side seals harden, crack, and lose compression memory faster here than in cloudier coastal markets.
- Concrete slab heave at thresholds. Older Chula Vista neighborhoods, particularly those built on the former agricultural lands and alluvial soils of the 1950s-1970s, experience seasonal soil expansion and contraction. The gap between door bottom and concrete shifts, sometimes opening to half an inch or more in dry months.
These three patterns mean a generic “spring and fall” maintenance schedule leaves gaps. A door in Garage Door Repair in Chula Vista territory needs attention calibrated to local moisture and temperature curves, not a national average.
Month-by-Month Maintenance Calendar
We’ve organized this calendar around Chula Vista’s actual climate data: peak marine layer frequency in May-June, peak UV in July-September, peak Santa Ana dryness in October-November, and winter rain concentration in December-March. The goal is preventive action before stress peaks, not reactive repair after failure.
January: Post-Holiday Hardware Check
The holiday season means more door cycles - guests, deliveries, decorations in and out. Inspect all roller brackets, hinge bolts, and track mounting hardware for looseness. Tighten with a socket wrench, not a screwdriver. Check the opener rail mounting points; the extra cycles stress these joints specifically.
February: Spring Pre-Inspection Before Rain
Winter rains peak. Examine torsion springs for rust bloom, particularly on the coils facing the door opening where wind-driven moisture collects. Wipe visible oxidation with a dry cloth and apply a thin film of marine-grade lubricant. Do not attempt to adjust spring tension.
March: Weatherstripping Assessment
After winter’s temperature swings, check bottom seal flexibility. Press the seal with your thumb; it should rebound within two seconds. If it stays compressed or feels rock-hard, UV degradation has advanced. Schedule replacement before summer intensifies the damage.
April: Track and Roller Cleaning
Pre-marine-layer prep. Clean steel tracks with a dry cloth to remove accumulated dust that becomes abrasive mud when moisture arrives. Inspect nylon rollers for flat spots or cracking. Steel rollers should spin freely; if they grind or stick, bearings have failed.
May: Full Lubrication Before Marine Layer Peak
The marine layer thickens now. Perform complete lubrication of all points (detailed in the Lubrication section below). Pay special attention to spring coils and cable drums - these are the first corrosion casualties.
June: Opener Force and Limit Testing
Humidity affects door weight as seals swell and tracks accumulate moisture film. Test the opener’s safety reverse with a 2×4 board. If the door doesn’t reverse promptly, the force setting may need adjustment. This is a professional adjustment on modern openers.
July: UV Peak - Seal and Paint Inspection
Maximum solar stress. Inspect door panel finish for chalking or fading, particularly on south and west exposures common in Chula Vista’s older neighborhoods. Failing paint exposes steel to corrosion. Check weatherstripping again; July heat accelerates hardening.
August: Threshold Gap Measurement
Dry soil shrinks. Measure the gap between door bottom and concrete in three places: left, center, right. Record the measurements. A gap exceeding 3/8 inch admits pests and allows water intrusion during the first fall storms. Note any change from March measurements.
September: Pre-Santa Ana Hardware Retorque
The hot dry winds arrive. Metal expands in summer heat and contracts as temperatures drop; hardware loosens through this cycling. Retorque all bolts to manufacturer specifications. Check cable attachment points at the bottom bracket for fraying.
October: Full System Test Before Holiday Season
Test every safety feature: photo-eye alignment, auto-reverse, manual release function. Lubricate again if the door sounds different than in May. The marine layer has been working on components for five months.
November: Drainage and Threshold Repair
Before winter rains, ensure the concrete apron slopes away from the door. Clean any debris from the threshold channel. If August showed a significant gap, now is the time for threshold seal replacement or concrete adjustment.
December: Professional Tune-Up Scheduling
Book your Garage Door Repair in Chula Vista seasonal tune-up for January if you haven’t already. Our $89 Seasonal Tune-Up includes spring tension verification, full hardware inspection, and safety system testing. Senior and veteran homeowners receive 5% off.
Spring Inspection and Marine Corrosion Prevention
Torsion and extension springs carry the full weight of your garage door. When they fail, the door becomes dead weight - 150 to 400 pounds of it. In Chula Vista’s marine environment, spring failure is rarely sudden; it’s the end of a corrosion process that visible inspection can catch early. See our Garage Door Warning Signs: A Chula Vista Homeowner’s Reference Guide for what to watch for.
What to look for on torsion springs:
- Inter-coil rust. Look between the coils where the spring sits in its relaxed state. Orange or brown staining indicates active corrosion. In west Chula Vista neighborhoods within two miles of the bay, we see significant inter-coil rust on springs as young as four years old.
- Coil gap inconsistency. A healthy torsion spring has uniform spacing between coils when the door is closed. Gaps that vary by more than 1/8 inch suggest metal fatigue or prior over-tensioning.
- End cone integrity. The stationary and winding cones at each end of the torsion assembly show stress cracking first. Look for hairline fractures in the cast metal where the spring wire terminates.
Extension spring specifics:
Extension springs run parallel to the horizontal tracks and stretch to lift the door. Their safety cables - the redundant steel cables threaded through the spring - are your first inspection point. If the safety cable shows fraying or the spring shows gaps between coils when the door is open, the spring has lost temper and is approaching failure.
Marine corrosion treatment:
After cleaning visible rust with a dry cloth, apply a lubricant specifically formulated with corrosion inhibitors. In our experience on Chula Vista doors, standard WD-40 evaporates too quickly for lasting protection. A lithium-based grease or marine-grade silicone spray with Teflon additive provides a film that resists salt-air penetration. Apply sparingly; excess lubricant attracts dust that becomes abrasive paste.
Safety note: Torsion springs are under extreme tension. Never attempt to adjust, wind, or unwind a torsion spring. The stored energy can cause serious injury or death. If your inspection reveals any concern, call a professional. Mainspring Garage Door Co. home technicians carry replacement springs for all standard door weights and can complete the swap in a single visit.
Weatherstripping and Seal Maintenance in High UV
Chula Vista’s 260+ annual sunny days deliver more ultraviolet radiation than Seattle sees in three years. That UV breaks down the polymer chains in rubber and vinyl seals, turning flexible gaskets into brittle, cracked failures that no longer seal against wind, water, or pests.
The three seal zones:
- Bottom seal (astragal): The rubber or vinyl bulb that compresses against the concrete threshold. This takes the most mechanical wear and UV exposure. On south-facing doors in neighborhoods like Rancho Del Rey, we’ve measured bottom seal replacement needs at 3-4 year intervals versus 6-8 years in shaded or north-facing installations.
- Side seals (jamb weatherstrip): The vinyl or brush strips mounted to the door frame. These degrade more slowly but are critical for wind-driven rain protection during Chula Vista’s winter storms.
- Top seal (header seal): Often overlooked, this prevents water intrusion from roof runoff and reduces air infiltration. UV degradation here is slower but still significant on unshaded doors.
Inspection method:
Close the door from outside on a sunny day. Look for light penetration at any seal point; any visible gap is a functional failure. From inside, run your hand slowly along each seal while a helper shines a flashlight from the opposite side. Draft or light indicates replacement need.
The flexibility test:
Press your thumbnail into the seal material. Fresh EPDM rubber leaves a temporary indentation that rebounds within seconds. UV-degraded material either doesn’t indent (hardened) or tears under light pressure. Vinyl formulations show surface cracking before hardness sets in - look for a pattern of fine cracks resembling dried mud.
Replacement timing:
Replace bottom seals in late March or early April, before summer UV peaks and after winter’s cold-weather contraction stress. Side and top seals can wait until September if they pass the spring inspection. For Clopay, Amarr, and Wayne Dalton doors, we stock the specific profile extrusions that match factory specifications - universal seals rarely fit correctly and leak within a season.
Threshold Inspection for Concrete Slab Heave
Chula Vista’s older neighborhoods - Castle Park, Hilltop, the area around Third Avenue Village, and portions of Terra Nova - were built on agricultural and alluvial soils with higher clay content than the engineered fill used in newer developments. These soils expand when wet and shrink when dry, causing the concrete garage slab to move seasonally.
What slab heave does to your door:
The threshold gap changes through the year. In wet winter months, the slab may rise, compressing the bottom seal and stressing the door bottom. In dry summer and fall, the slab drops, opening a gap that admits rodents, insects, and water. The door’s bottom section flexes through this cycle, eventually cracking or separating at panel joints.
Measurement protocol:
- Close the door fully.
- Measure the gap between door bottom and concrete at left end, center, and right end. Use a flashlight to see clearly.
- Record measurements with date.
- Repeat monthly, at the same three points.
A gap under 1/4 inch is normal. Between 1/4 and 3/8 inch, monitor monthly and ensure your bottom seal is in good condition. Over 3/8 inch, you have a functional problem: pest entry, water intrusion during rain, and energy loss. Over 1/2 inch, the door’s bottom panel may be striking the concrete during slab-rise periods, causing damage.
Neighborhood-specific notes:
In Chula Vista’s 1950s-1970s neighborhoods, we’ve measured seasonal slab movement of 3/8 to 5/8 inch. Newer construction on compacted fill in Eastlake and Otay Ranch typically shows under 1/4 inch. If you’re in an older neighborhood and your gap exceeds 1/2 inch in August, consider a threshold seal with an adjustable rubber drop - not just a standard replacement, but a system that maintains contact through slab movement range.
Concrete leveling (mudjacking or polyurethane injection) is the permanent fix for severe heave, but it’s a separate trade. We coordinate with local concrete specialists when threshold adjustment alone won’t solve the problem.
Lubrication Points, Order, and Product Selection
Lubrication done wrong is worse than no lubrication at all. The wrong product attracts grit. The wrong order contaminates clean surfaces. Here’s the system we’ve developed over four decades for Chula Vista’s specific conditions.
Product selection for marine environments:
| Component | Product Type | Why |
|---|---|---|
| Torsion springs | White lithium grease or silicone spray with corrosion inhibitor | Stays put, resists salt-air wash-off, doesn’t attract dust like petroleum-based products |
| Extension springs | Same as torsion | Same rationale; safety cables get light spray to prevent internal corrosion |
| Hinges | Light machine oil or dry Teflon lube | Penetrates pin bore; dry lube avoids dust accumulation in windy, dusty conditions |
| Roller bearings | Light machine oil, 2-3 drops only | Nylon rollers have sealed bearings - over-lubrication forces grease past seals |
| Track interior | None - clean only | Lubricant on tracks causes roller slippage and accumulation of abrasive grit |
| Cable drums, pulleys | Light machine oil on pivot points only | Keep cable contact surfaces clean; oil on cables attracts grit that abrades strands |
| Lock mechanism | Graphite powder or dry lube | Won’t gum up in temperature swings; won’t attract dust |
| Weatherstrip contact surfaces | Silicone spray on door edge only, not seal | Reduces friction that tears seal; don’t spray seal itself - silicone swells some rubber compounds |
Order of operations:
- Clean first. Wipe all surfaces with dry cloth. Remove old lubricant residue, dust, and any corrosion products. Cleaning after lubricating just wipes off your new lubricant.
- Lubricate springs. Apply thin, even coat to torsion spring coils. For extension springs, spray lightly along the coil length while the door is open (springs are relaxed, gaps are open).
- Lubricate hinges and rollers. Work from bottom to top, one panel at a time. Operate the door manually to distribute lubricant.
- Lubricate cable drums and pulleys. One drop at pivot points. Wipe any excess immediately.
- Test operation. Run the door through 3-4 cycles. Listen for grinding, squealing, or irregular sounds that indicate a missed point or failing component.
- Wipe excess. Any lubricant visible after operation is excess that will attract dust. Remove it.
What to avoid: Garage door lubricant myths persist. WD-40 is a solvent, not a lubricant - it cleans, then evaporates, leaving metal unprotected. 3-in-1 oil turns to gum in UV exposure. Heavy grease on tracks causes roller slippage and door binding. And never, under any circumstance, lubricate the opener chain or belt with anything other than the manufacturer-specified product - wrong lubricants destroy modern belt drives.
Safety Checks Every Homeowner Can Perform
These checks require no tools beyond a flashlight and a 2×4 board. Perform them monthly; they take under ten minutes and can prevent injury or property damage.
Auto-reverse test (mechanical):
Place a 2×4 board flat on the threshold, centered under the door path. Close the door using the opener. The door must reverse within two seconds of contacting the board. If it stops without reversing, or continues to crush the board, the close-force setting requires professional adjustment. Do not attempt to adjust force settings yourself - improper adjustment creates a crushing hazard.
Photo-eye test:
Close the door, then pass your leg through the beam path while it’s descending. The door must reverse immediately. If it doesn’t, check for misaligned sensors (the LED indicators on each unit show alignment status), dirty lenses, or obstructions. Clean lenses with a soft cloth; realign by loosening mounting brackets and adjusting until both LEDs show solid (not blinking) indication.
Manual release test:
With the door closed, pull the red emergency release handle. The trolley should detach from the opener carriage. Lift the door manually - it should move smoothly and stay open at waist height without drifting down. If it falls, spring balance is off and needs professional correction. Re-engage the opener by pulling the release handle toward the opener unit while running the motor.
Cable visual inspection:
Examine the lift cables on each side of the door. Look for fraying, broken strands, rust blooming, or flattening where the cable wraps around the drum. Any of these conditions means cable replacement is needed soon. Cables under tension can snap without warning; don’t test them by hand.
Spring sound check:
Operate the door manually (disconnected from opener). A healthy spring system produces a smooth, consistent resistance. Grinding, popping, or irregular resistance indicates spring fatigue, cable drum problems, or bearing failure. Note the sound and call for diagnosis.
Panel and hardware check:
With the door open, inspect each hinge for cracks or elongation of bolt holes. Check panel sections for dents, separation at seams, or rust spots. On steel doors, rust at panel edges is the first sign of internal water trapping - common in Chula Vista where morning condensation forms on cold metal.
Common Mistakes to Avoid
- Using the wrong lubricant on springs. Petroleum-based greases attract salt-laden dust in Chula Vista’s marine air, creating an abrasive paste that accelerates wear. Stick with lithium or silicone formulations.
- Ignoring the track. Clean tracks, don’t lubricate them. Lubricated tracks collect grit that grinds roller bearings and creates flat spots on steel rollers.
- Testing auto-reverse with your hand. Never use body parts to test safety systems. The 2×4 board method is the standard for a reason.
- Delaying spring replacement until failure. A failing torsion spring often announces itself with increased door weight, visible coil gaps, or squealing. Waiting for catastrophic failure risks the door slamming down and damages the opener.
- Buying universal weatherstripping. The extruded profiles for Clopay, Amarr, and Wayne Dalton doors are proprietary. Universal seals compress incorrectly, leak, and fail faster than factory-matched replacements.
- Neglecting slab movement in older neighborhoods. Chula Vista homeowners in Castle Park and Hilltop sometimes adjust the opener limit settings to compensate for threshold gaps, then forget to readjust when the slab rises in wet season. This strains the entire system.
- Skipping professional tune-ups to save money. The $89 Seasonal Tune-Up catches spring fatigue, cable wear, and opener strain before they become $400+ emergency repairs. We’ve seen neglected maintenance turn into full door replacement.
When to Call a Professional
Some maintenance is homeowner work. Some is not. Call a professional when you encounter any of the following. Read How to Hire a Garage Door Contractor in Chula Vista: A Step-by-Step Guide to choose wisely:
- Any concern with torsion or extension springs - tension adjustment, replacement, or suspected fatigue
- Cable fraying, broken strands, or detachment from bottom brackets
- Opener force or limit setting adjustments
- Door that won’t stay open manually, indicating spring balance failure
- Panel separation, hinge cracking, or structural damage to door sections
- Opener motor that strains, overheats, or trips electrical breakers
- Any safety system that fails the 2×4 or photo-eye test after basic troubleshooting
Carl Dutton and the team at Mainspring Garage Door Co. have worked on Chula Vista doors since 2016, and the company itself has served Southern California since 1984. Our trucks carry springs, cables, rollers, and openers for all major brands, so most repairs finish in a single visit. We state the flat price before any work begins, and every job carries our 90-Day Done Right Promise in writing.
Garage Door Repair in Chula Vista from Mainspring includes free estimates, live phone answering 24/7, and background-checked, uniformed technicians who arrive when promised. Call (619) 901-2874 to schedule.
Frequently Asked Questions
Every three months, with full spring and hardware lubrication in May before marine layer peak and October before Santa Ana season. Monthly visual inspection of springs for corrosion should happen year-round within five miles of the bay. Call (619) 901-2874 if you see rust forming between coils - early treatment prevents premature failure.
Salt-laden marine layer moisture condenses on cold metal surfaces in west Chula Vista neighborhoods, then evaporates to leave corrosive salt crystals. Torsion springs one mile from the bay can fail at under 7,000 cycles versus 15,000 in dry climates. More frequent lubrication with corrosion-inhibiting products is the preventive answer.
Bottom seal replacement is straightforward on most modern doors - slide out the old seal from the retainer channel, slide in the new. The critical step is buying the correct extrusion profile for your door manufacturer. Clopay, Amarr, and Wayne Dalton each use different channel dimensions and bulb shapes. Universal seals leak. If you’re uncertain of your door brand or profile, we carry factory-matched replacements and install them during our $89 tune-up.
Mainspring Garage Door Co. offers a $89 Seasonal Tune-Up that includes spring tension verification, full hardware inspection, safety system testing, and lubrication with marine-appropriate products. Senior and veteran homeowners receive 5% off. The price is stated upfront before any work begins. Call (619) 901-2874 to schedule.
This indicates spring balance failure. The springs are no longer counterbalancing the door’s weight properly. Do not attempt to adjust spring tension yourself - torsion springs store lethal energy. Disconnect the opener using the emergency release, secure the door in the closed position, and call for professional service. Operating an unbalanced door burns out the opener motor.
No. Mainspring states the flat price before any work begins. If we discover additional issues during inspection, we explain them and quote separately - you approve or decline before any further work. There are no surprises on the bill. This is our standard practice on every job, and it’s backed by our 90-Day Done Right Promise in writing.
Yes. Our technicians arrive with torsion and extension springs, cables, rollers, hinges, weatherstripping profiles for major brands, and opener components. Most repairs in Chula Vista are completed in a single visit. We don’t believe in making customers wait for parts or scheduling return trips.
The Bottom Line
Garage door maintenance in Chula Vista is not a generic task. The marine climate, intense UV, and soil conditions of specific neighborhoods create failure patterns that inland checklists miss. Inspect monthly, lubricate quarterly with marine-appropriate products, measure your threshold gap seasonally, and replace weatherstripping before summer peaks. The homeowners who follow this calendar avoid the emergency calls that dominate our winter schedule - springs that snap during the first cold snap, openers that burn out from years of unbalanced load, water damage from failed seals.
The work is straightforward but specific. Use the right products in the right order. Know which tasks are yours and which belong to a trained technician. And keep records - the measurements you take in August will explain the problems you see in January.
For a professional assessment of your door’s condition, or to schedule our $89 Seasonal Tune-Up, call Mainspring Garage Door Co. at (619) 901-2874. Estimates are free, the price is stated upfront, and every job carries our 90-Day Done Right Promise.
Written by Carl Dutton, Owner at Mainspring Garage Door Co., serving Chula Vista since 2016.